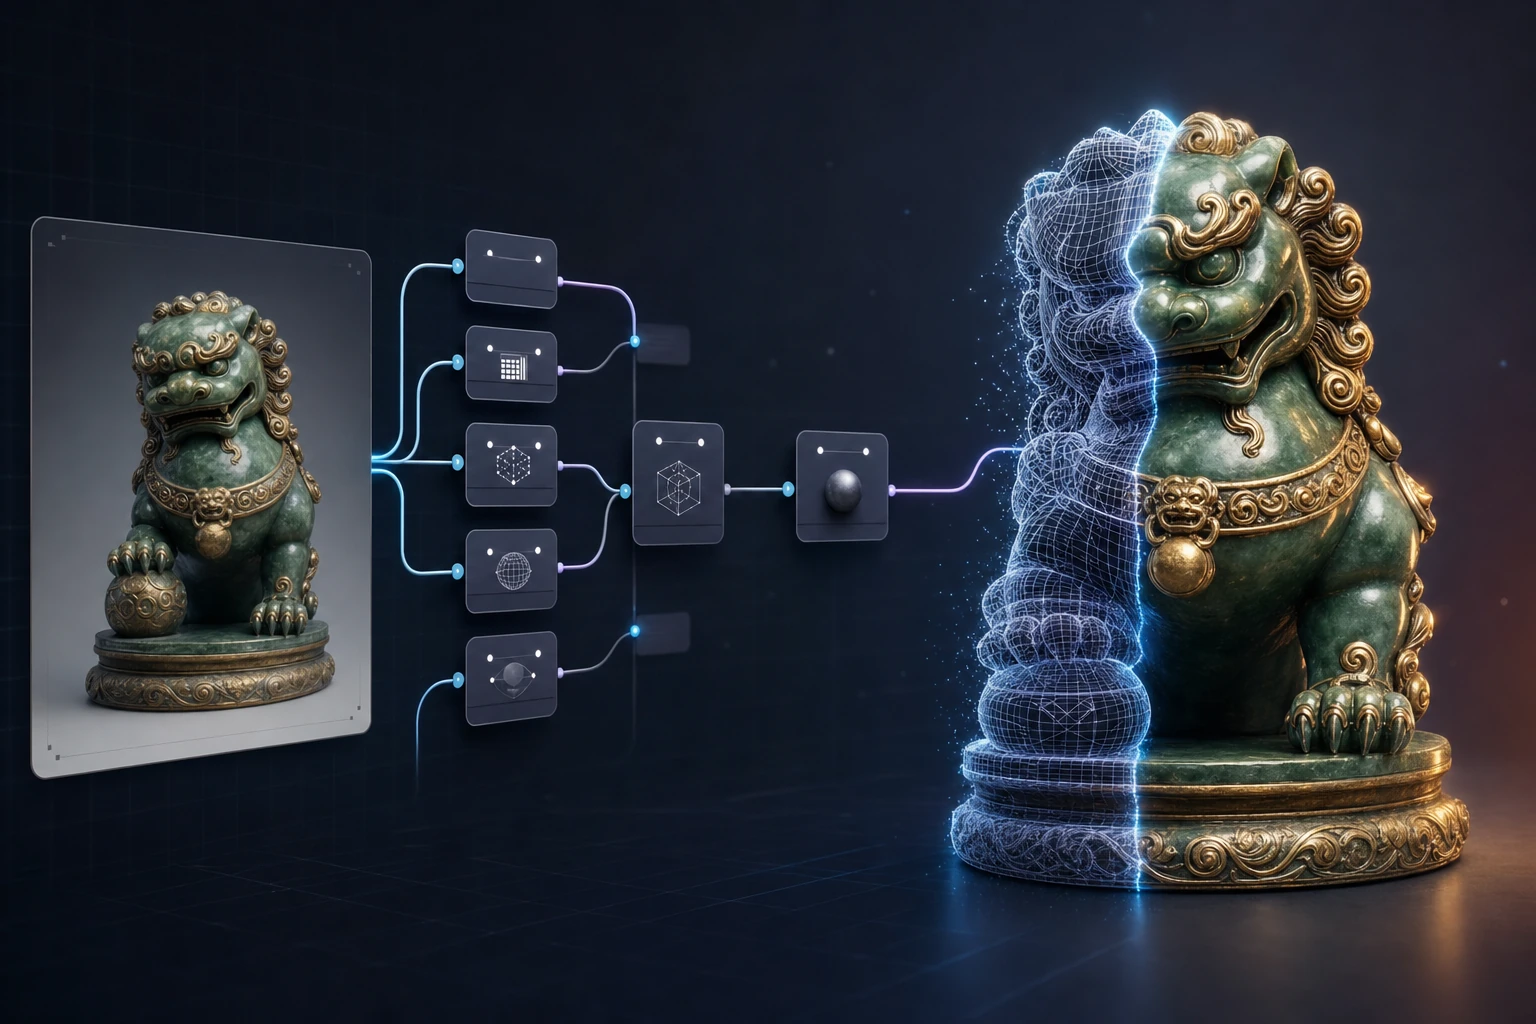
How to Use Hunyuan 3D in ComfyUI: Complete 2026 Guide
"How does Hunyuan3D work?" and "How to get good results with Hunyuan3D in ComfyUI?" are the two People Also Ask questions Google surfaces for this topic, and the answers scattered across YouTube comments and Reddit threads are fragmented. This guide consolidates what the docs say, what the community has verified, and where the real friction is.
Hunyuan 3D (Hunyuan3D-2 by Tencent) is one of the most capable open-source image-to-3D models available in 2026. Running it inside ComfyUI gives you node-level control, reproducible workflows, and the ability to chain it with background removal, upscaling, and texture LoRAs. The catch: there are now three ways to run it in ComfyUI, each with different VRAM needs, install complexity, and texture capabilities.
By the end you will know which path fits your GPU, how to install it, how to build a working image-to-3D workflow, and how to avoid the quality traps the community has already mapped.
For a broader model comparison, see Trellis 2 vs Hunyuan 3D vs TripoSR.
TL;DR
| You want… | Use this |
|---|---|
| Easiest install, geometry only | Native ComfyUI support (just update + drop model in checkpoints/) |
| Full texture output | Kijai ComfyUI-Hunyuan3DWrapper (compile rasterizer + renderer) |
| Best quality-to-speed on modest VRAM | 2mini-turbo at 1024, 15 steps (community-verified) |
| Cloud, no local GPU | Hunyuan 3D 3.0 Partner Nodes via ComfyUI Template Library |
Key fact to internalize: native ComfyUI Hunyuan3D is geometry-only. If you want textured meshes, you need the Kijai wrapper. Source: official ComfyUI docs.
Deciding between Hunyuan 3D and TRELLIS.2 or Stable Fast 3D? The ComfyUI 3D model guide compares all four model families by input type, VRAM floor, and use case.
How Does Hunyuan3D Work?
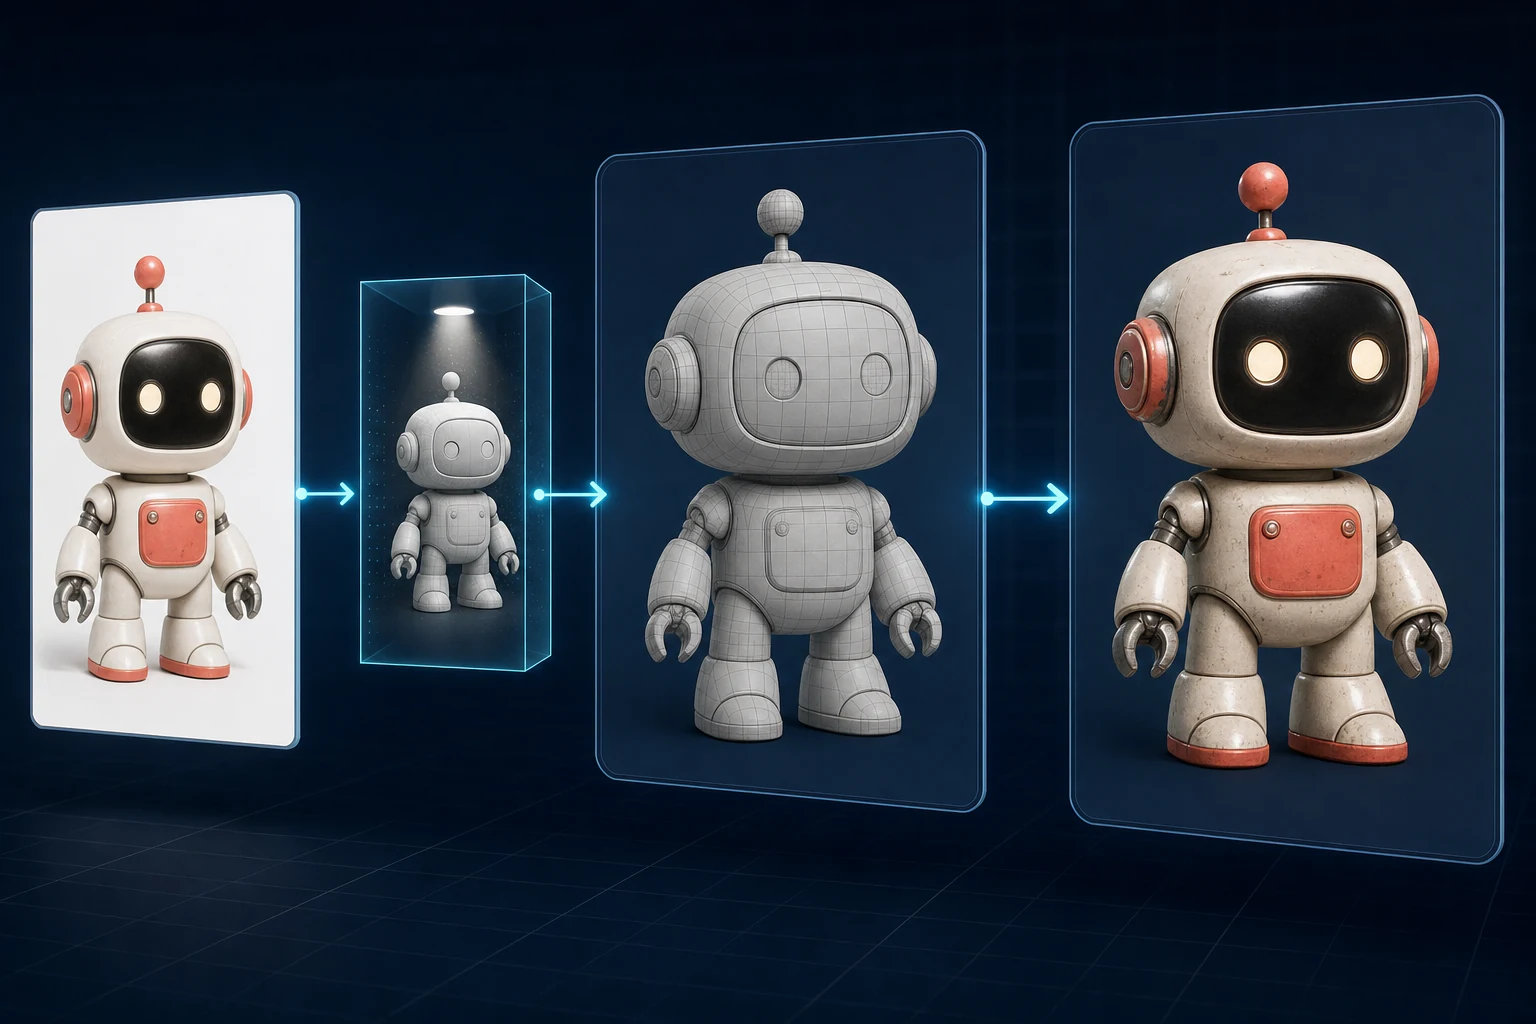
Hunyuan3D-2 is a two-stage 3D generation system built by the Tencent Hunyuan3D team.
- Hunyuan3D-DiT: a scalable flow-based diffusion transformer that generates the bare geometry (the shape) from a condition image. The standard model is 1.1B parameters; the mini variant is 0.6B.
- Hunyuan3D-Paint: a 1.3B-parameter model that synthesizes high-resolution texture maps over that geometry, combining geometric conditions with multi-view diffusion to support PBR materials.
A third model, Hunyuan3D-Delight (1.3B), preprocesses input images before generation.
Source: tencent/Hunyuan3D-2 on Hugging Face. The accompanying paper reports Hunyuan3D 2.0 outperforming prior state-of-the-art on CMMD (3.193), FID_CLIP (49.165), and CLIP-score (0.809) against both open and closed-source baselines.
This two-stage split is why the ComfyUI experience differs by install path: the native integration only exposes stage one (geometry), while the Kijai wrapper exposes both stages.
Hunyuan 3D System Requirements and VRAM
Per the official ComfyUI docs, the VRAM tiers are:
| Configuration | VRAM |
|---|---|
| Hunyuan3D-2mini | ~5 GB |
| Shape generation only (standard) | ~6 GB |
| Complete process (shape + texture) | ~12 GB |
Practical guidance:
- 5–6 GB VRAM (e.g. GTX 1060 6GB, RTX 3050): Use Hunyuan3D-2mini. Geometry only via native ComfyUI.
- 8–12 GB VRAM (e.g. RTX 3060, 4060): Standard single-view or multiview shape generation fits comfortably. Full textured output via the wrapper pushes toward 12 GB.
- 16 GB+ VRAM: Run the full pipeline with textures, or the multiview workflow for better geometry.
Beyond VRAM you need an NVIDIA GPU with CUDA. The main custom node explicitly supports Windows, Ubuntu/Linux, and Suse/Linux, with no macOS support documented. Windows requires Visual C++ build tools.
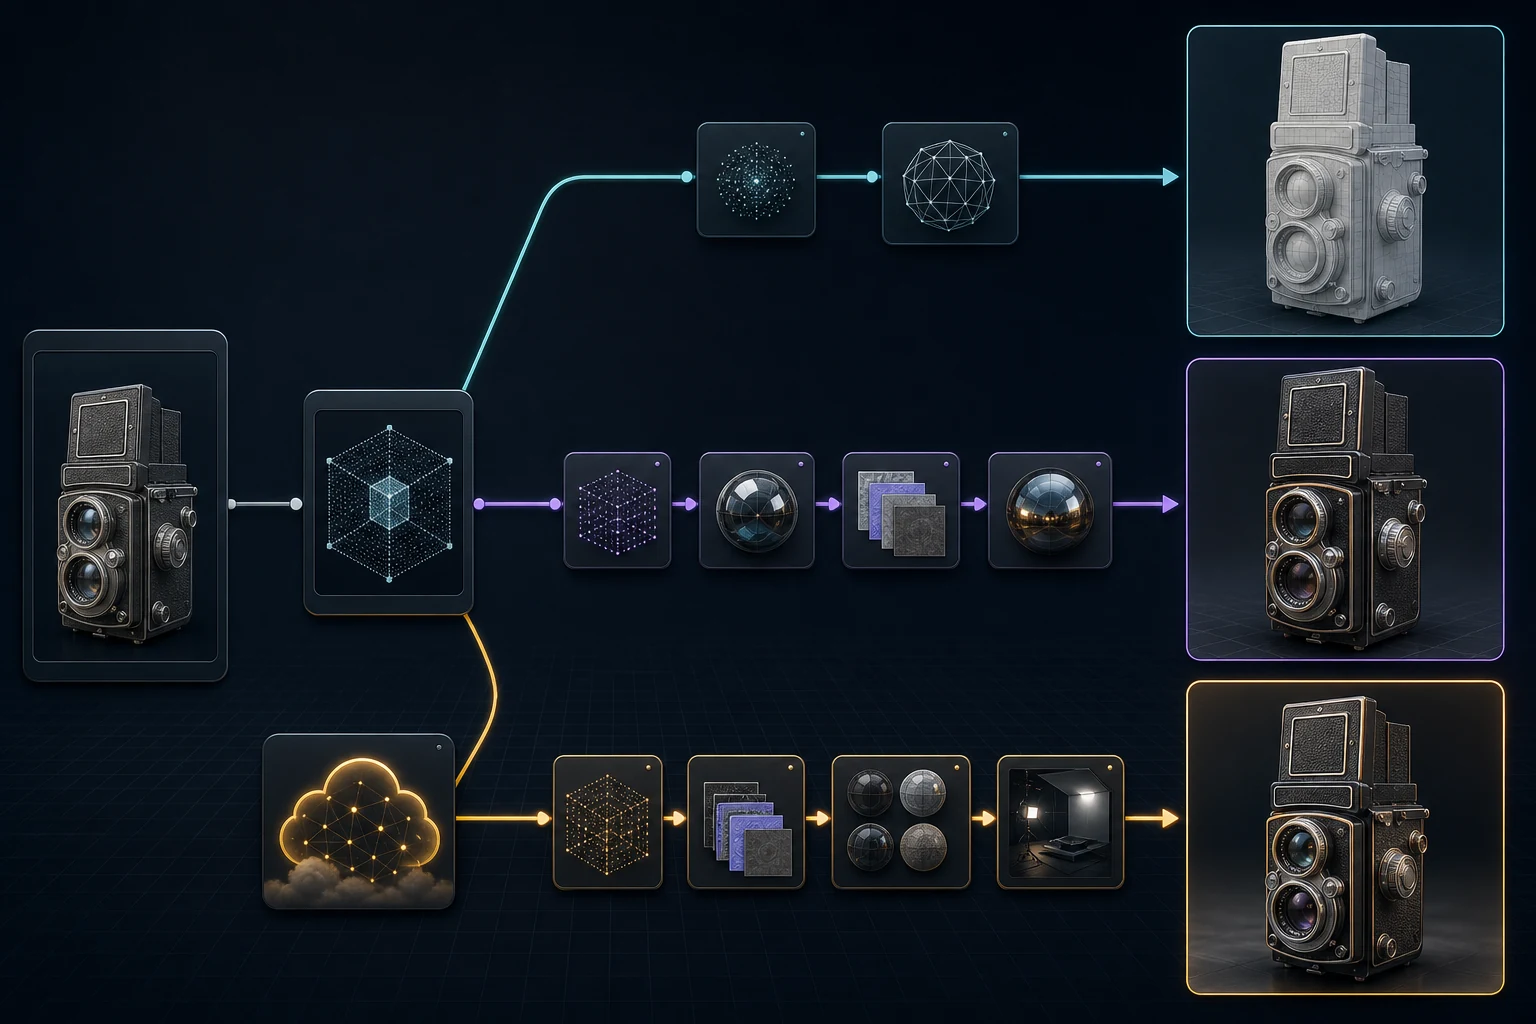
Three Ways to Run Hunyuan 3D in ComfyUI
Native ComfyUI Support (Geometry Only)
The simplest path. ComfyUI ships built-in Hunyuan3D-2 nodes, with no custom node installation or compilation.
- Capability: geometry only (untextured meshes)
- Model directory:
ComfyUI/models/checkpoints/ - Output:
ComfyUI/output/mesh/ - Install effort: update ComfyUI, drop model file in place
Note: the popular niknah/ComfyUI-Hunyuan-3D-2 custom node now reads "Don't use this one any more. Hunyuan-3D v2 is built into ComfyUI." This confirms native support is the current recommended baseline for geometry.
Kijai ComfyUI-Hunyuan3DWrapper (Geometry + Texture)
The wrapper exposes the full pipeline including the Hunyuan3D-Paint texture stage.
- Capability: geometry + textured output (full PBR pipeline)
- Model directory:
ComfyUI/models/diffusion_models/ - Output:
ComfyUI/output/3D/ - Install effort: moderate. Requires compiling
custom_rasterizeranddifferentiable_renderer; auto background removal via ComfyUI_essentials - Models:
hunyuan3d-dit-v2-0-fp16.safetensorsfrom Kijai/Hunyuan3D-2_safetensors
ComfyUI-3D-Pack (Not Recommended)
The comfyui-wiki advises against it: "dependency environment differs from the latest ComfyUI" and the author's install attempts failed repeatedly. Avoid unless you have a specific reason.
How to Install Hunyuan 3D in ComfyUI (Native Path)
This is the geometry-only path. It is the fastest way to a working 3D mesh.
Step 1: Update ComfyUI
Update ComfyUI to the latest version. Native Hunyuan3D-2mv support requires a recent build.
Step 2: Download the Model File
| Workflow | Source repo | Download file | Rename to |
|---|---|---|---|
| Single-view | tencent/Hunyuan3D-2 | model.fp16.safetensors | hunyuan3d-dit-v2.safetensors |
| Multiview | tencent/Hunyuan3D-2mv | model.fp16.safetensors | hunyuan3d-dit-v2-mv.safetensors |
| Multiview Turbo | tencent/Hunyuan3D-2mv | model.fp16.safetensors | hunyuan3d-dit-v2-mv-turbo.safetensors |
All files go in ComfyUI/models/checkpoints/. You can also grab pre-renamed fp16 builds from Kijai/Hunyuan3D-2_safetensors.
Step 3: Place the File and Restart
Move the renamed .safetensors into ComfyUI/models/checkpoints/, restart ComfyUI, and the model appears in the checkpoint loader.
How to Install the Kijai Hunyuan3D Wrapper (Full Texture Path)
Use this when you need textured, engine-ready output.
Step 1: Clone the Wrapper and Dependencies
# In ComfyUI/custom_nodes/
git clone https://github.com/kijai/ComfyUI-Hunyuan3DWrapper
pip install -r ComfyUI-Hunyuan3DWrapper/requirements.txt
You also need ComfyUI_essentials by cubiq for automatic background removal.
Step 2: Install OS Build Dependencies
Windows: Install Visual C++ build tools from Microsoft.
Ubuntu/Linux:
sudo apt install python3-dev libgl-devSuse/Linux: needs g++ 13 (Suse ships 14+ by default):
sudo zypper install g++-13 Mesa-libGL-devel python3-devStep 3: Download Models to diffusion_models/
Place hunyuan3d-dit-v2-0-fp16.safetensors in ComfyUI/models/diffusion_models/. For the 2.1 texture pipeline, also download the RealESRGAN weight:
wget https://github.com/xinntao/Real-ESRGAN/releases/download/v0.1.0/RealESRGAN_x4plus.pth -P ckptStep 4: Compile the Texture Renderers
For textured output you must compile two CUDA modules:
# custom_rasterizer
cd ComfyUI-Hunyuan3DWrapper/submodules/Hunyuan3D-2/hy3dgen/texgen/custom_rasterizer/
python setup.py install

# differentiable_renderer
cd ../differentiable_renderer/
python setup.py build_ext --inplace
If compilation fails, the renderer falls back to CPU, which works but is much slower. Pre-built .whl files for common configs (Windows 11 Python 3.12 CUDA 12.6, portable ComfyUI CUDA 12.6, portable PyTorch 2.6.0) are available to skip compilation.
Building a Hunyuan 3D Image-to-3D Workflow
Hunyuan3D-2 Single-View Workflow (Native)
The minimal image-to-3D pipeline:
Load Image: your input image (transparent background recommended)Image Only Checkpoint Loader(img2vid model): loadshunyuan3d-dit-v2.safetensorsHunyuan3Dv2Conditioning: builds conditioning from the single image- (DiT sampling happens internally)
SaveGLB: writes the.glbmesh toComfyUI/output/mesh/
Run with Ctrl/Cmd + Enter or the Queue button.
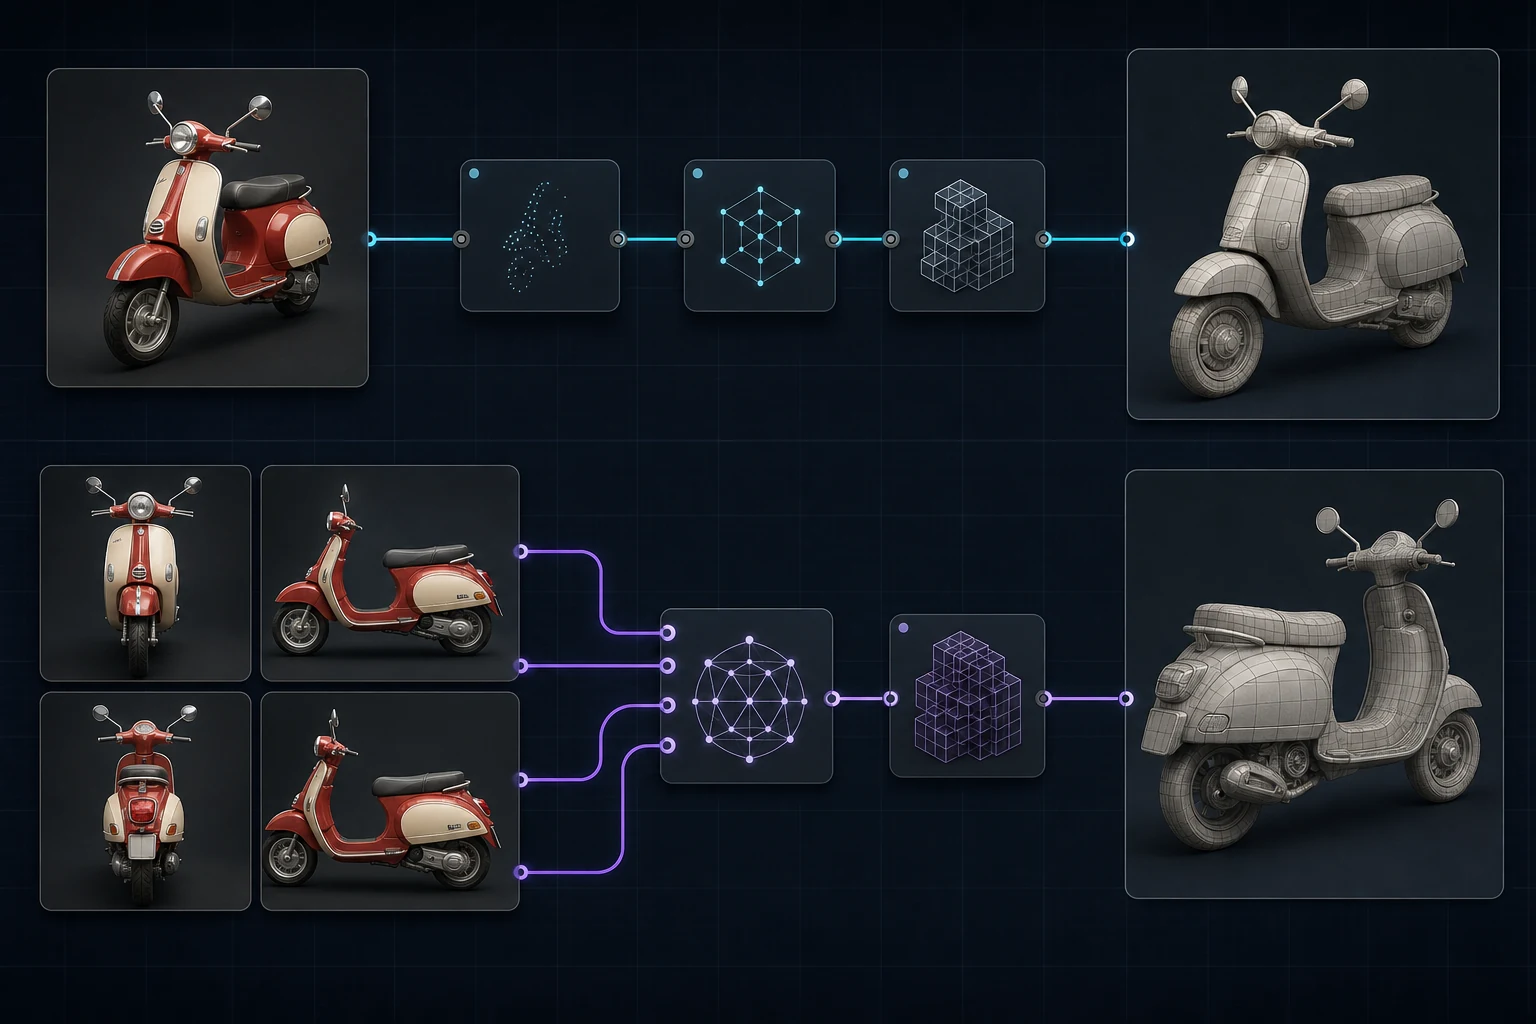
Hunyuan3D-2mv Multiview Workflow (Better Geometry)
Feeding 2–4 views improves geometry and material fidelity. Per the official docs:
Image Only Checkpoint Loader(img2vid model): loadshunyuan3d-dit-v2-mv.safetensors(1.1B params)Load Imagenodes: one per view (front, left, back, right). Front-only is sufficient; additional views are optional. If a view is unavailable, right-click its conditioning node and set mode toNever.Hunyuan3Dv2ConditioningMultiView: handles multi-view conditioningSaveGLB: output
Hunyuan3D-2mv Turbo Workflow (Fastest)
The turbo model is a step-distilled version of 2mv. The key settings:
- Model:
hunyuan3d-dit-v2-mv-turbo.safetensors cfg = 1.0- Add a
Flux Guidancenode to control the distilled guidance - Input views: front, right
Wrapper Workflow Nodes
If you installed the Kijai wrapper, the node names differ:
Hy3DModelLoader: loads the DiT modelHy3DExportMesh: exports the final textured model toComfyUI/output/3D/- Background removal handled automatically via ComfyUI_essentials
How to Get Good Results with Hunyuan 3D: Quality Settings
This is where community experience matters most. The top-voted advice from r/comfyui's Hunyuan3D 2.0 quality thread:
"You get better quality from the 2mini-turbo model at 1024 resolution and 15 steps."
Input Image Preparation
This is the single biggest quality lever:
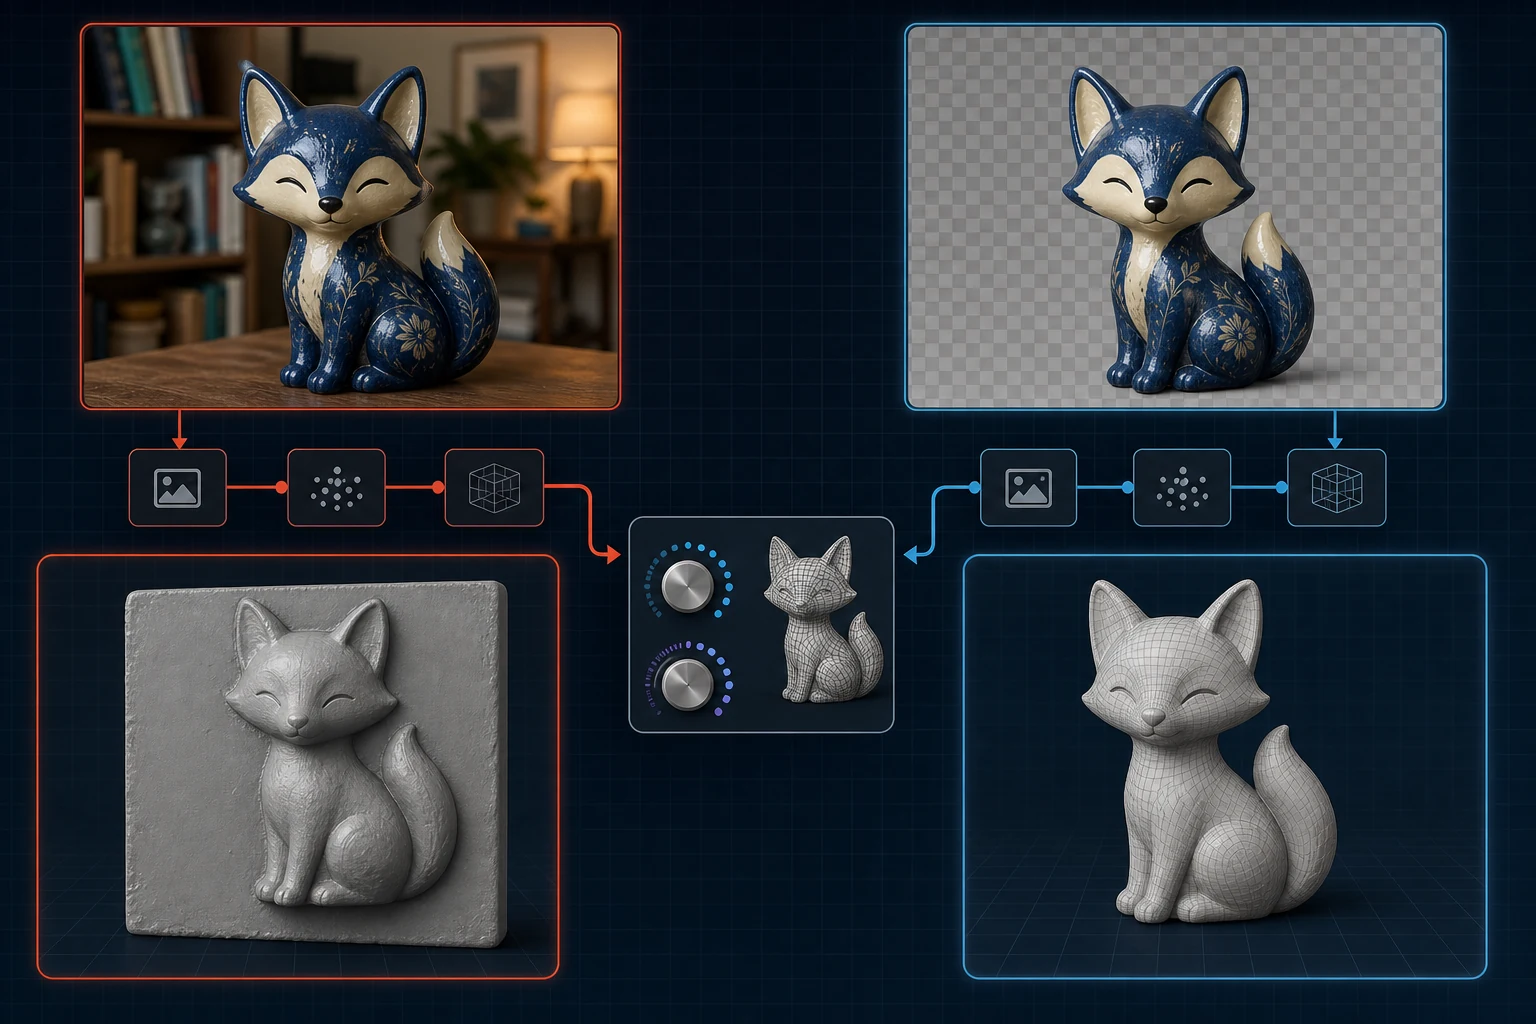
- Transparent background is mandatory for native workflows. Native ComfyUI does not auto-remove backgrounds. If you feed a busy background, you get a square panel of geometry instead of your subject.
- The Kijai wrapper auto-removes backgrounds via ComfyUI_essentials.
- For best geometry, use a clean, well-lit, single-subject image on a plain or removed background.
The Delight Model Tradeoff
The Hunyuan3D-Delight preprocessing model is contested. One r/comfyui user: "you're using the delight model which ruins the textures." But the workflow author defended it: "I'm using Delight because the 3D models will be printed on my 3D printer, and with Delight this is made easier when it comes to reducing the colors to 4."
Takeaway: Delight flattens/reduces colors. Useful for 3D printing or stylized output. Skip it for photoreal texture quality.
Best Texture Quality (Advanced)
For the highest texture quality, the community consensus is to replace the default texture stage with SDXL or Flux generating the multi-views, using an albedo LoRA. Workflows implementing this exist on Civitai and in the banodoco Discord. This is more setup, but visibly better textures than the stock paint pipeline.
Hunyuan 3D Output and Export
| Approach | Format | Location |
|---|---|---|
| Native | .glb | ComfyUI/output/mesh/ |
| Kijai wrapper | .glb | ComfyUI/output/3D/ (set in Hy3DExportMesh) |
Both output .glb by default. For converting GLB to other formats (FBX, OBJ) for game engines, see how to export 3D model GLB/FBX.
Hunyuan 3D Troubleshooting: Common Errors and Fixes
These come from the niknah node issue tracker and the r/comfyui thread, all verified community fixes.
| Error | Fix |
|---|---|
| Node fails to load after first restart | Restart ComfyUI again. Click the node panel to surface the error. |
_get_vc_env attribute error | pip install setuptools==75.8.2 (downgrade setuptools; see PyTorch issue #148877) |
| Square panel instead of your subject | Input image lacks a transparent background. Pre-remove the background. Some nodes have an inverted mask; try an "invert mask" node. |
| VAE/model loading wrong | Common mistake: putting the VAE in the diffusion folder and the model in the VAE folder. Check folder placement. |
| Paint/texture not working (2.1) | Manually download RealESRGAN_x4plus.pth into the ckpt folder. |
| Get/set nodes not loading | Likely version-specific. Ensure your custom node and ComfyUI are both current. |
The UV Mapping Problem (Known Limitation)
The most upvoted complaint in the quality thread:
"Main issue I am facing with img-to-3D AI models, is the non-ending UV mapping/unwrapping part. Even if I do get a T-pose basic model, it shows perfect in renders with the textures applied but the UV mapping is terrible, can not change even a small part from the texture, all coordinates are scrambled."
Reality: Hunyuan 3D's auto-UV is functional for rendering but poor for editing or texture work. If you need clean UVs for texture editing, rigging, or game-engine use, expect to re-unwrap in Blender. Hunyuan 3D 3.0 lists Semantic UV Unwrapping as an upcoming feature, which should address this.
Hunyuan 3D 3.0: What's New in ComfyUI
Tencent released Hunyuan 3D 3.0, and per the official ComfyUI blog announcement (Feb 13, 2026), it is accessible in ComfyUI via Partner Nodes.
Key differences from 2.x:
- Accessed through cloud/API Partner Nodes, not local model downloads
- Install path: Template Library sidebar → 3D → Hunyuan 3D → choose a workflow template
- Input modes: text-to-3D, image-to-3D, multi-view-to-3D (2–4 images)
- Output: production-ready 3D assets with PBR materials and professional UVs
- Upcoming: Texture Editing, Semantic UV Unwrapping, 3D Part Decomposition
3.0 is the right choice if you want state-of-the-art quality without managing local VRAM. The 2.x local path remains the right choice if you need offline, free, node-level control.
Hunyuan 3D vs Trellis 2 in ComfyUI
The short version (full breakdown in our Trellis 2 vs Hunyuan 3D comparison):
| Dimension | Hunyuan 3D 2.x | Trellis 2 |
|---|---|---|
| Maker | Tencent (1.1B) | Microsoft (4B) |
| VRAM (full) | 8–16 GB | 16–24 GB |
| Speed | Fast (~30–60s) | Slow (~3.5 min) |
| Texture in ComfyUI | Wrapper only | Native PBR |
| Commercial license | More permissive | Research license, verify |
Rule of thumb: VRAM-constrained or speed-focused → Hunyuan 3D. Maximum fidelity and PBR texture quality, with the GPU to match → Trellis 2.
Frequently Asked Questions
How does Hunyuan3D work?
Hunyuan3D uses a two-stage pipeline: Hunyuan3D-DiT (a 1.1B flow-based diffusion transformer) generates bare geometry from an image, then Hunyuan3D-Paint (1.3B) synthesizes high-resolution texture maps over it. The stages run separately in ComfyUI.
How to get good results with Hunyuan3D in ComfyUI?
Use a clean input image with a transparent background, run the 2mini-turbo model at 1024 resolution with 15 steps, and for the highest texture quality replace the default texture stage with SDXL or Flux generating multi-views using an albedo LoRA.
How to install Hunyuan 3D in ComfyUI?
The native path: update ComfyUI, download model.fp16.safetensors from tencent/Hunyuan3D-2, rename to hunyuan3d-dit-v2.safetensors, place in ComfyUI/models/checkpoints/. For textured output, install the Kijai wrapper instead.
What are the VRAM requirements for Hunyuan 3D?
Per official ComfyUI docs: ~5 GB for 2mini, ~6 GB for shape-only, ~12 GB for the full shape-plus-texture pipeline.
Does Hunyuan 3D support texture generation in ComfyUI?
Native ComfyUI is geometry-only. Textured output requires the Kijai ComfyUI-Hunyuan3DWrapper, which adds the Hunyuan3D-Paint stage (needs compiling the rasterizer and renderer).
What is the difference between Hunyuan 3D 2.0 and 2.1?
2.1 is the improved follow-up. Its paint pipeline adds RealESRGAN upscaling for higher-resolution textures, requiring the RealESRGAN_x4plus.pth weight in the ckpt folder.
Can I run Hunyuan 3D on 8GB VRAM?
Yes. Use Hunyuan3D-2mini (~5 GB) or shape-only (~6 GB). The full textured pipeline needs ~12 GB, so on 8 GB stick to mini or shape-only and texture separately.
Next Steps
- Pick your path: native (geometry, easy) or Kijai wrapper (textured, more setup). Use the table in the TL;DR.
- Install following the steps above for your chosen path.
- Prep your input image with a transparent background. This is the #1 quality lever.
- Start with single-view, then try multiview (front + side) for better geometry once single-view works.
Last reviewed: July 2026. Open-source 3D models move fast; recheck model versions and ComfyUI compatibility every few months. Hunyuan 3D 3.0's Semantic UV Unwrapping feature, when it ships, should remove the main pain point (scrambled UVs) documented here.
Run it yourself in Trify3D
Keep reading from this topic
Albedo vs Normal Map: What Each Stores, When You Need Which
Albedo vs normal map explained: what each map stores, why normal maps look purple, how they work together, and three checks to tell them apart.
TutorialsTrellis 2 Complete Guide: From Install to Production Workflow
The complete Trellis 2 guide for 2026: pick an install path (ComfyUI or no local GPU), run image-to-3D, text-to-3D, and multiview workflows, fix common errors, and compare Trellis 2 vs Hunyuan 3D.
TutorialsWhat Is PBR Texturing? The 2026 Plain-English Guide
PBR texturing explained: what PBR stands for, the six core maps, the two workflows, and the mistakes that break PBR materials in Unity and Unreal.