How to Import 3D Models into Daz Studio (2026 Guide)
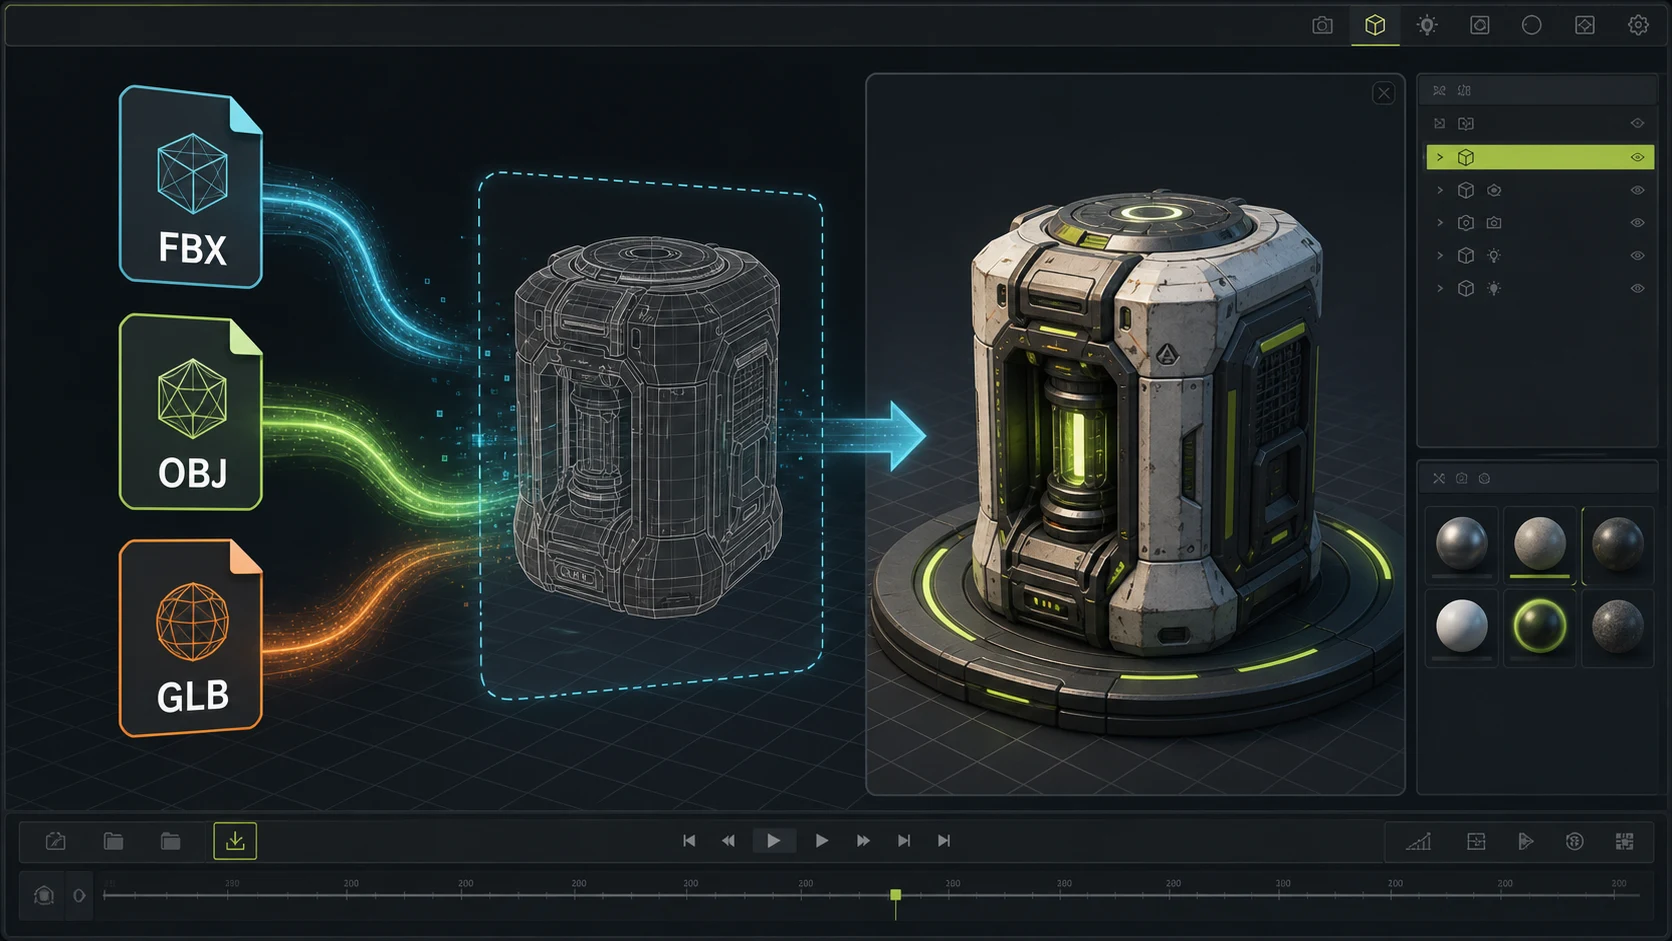
Importing a 3D model into Daz Studio means bringing an external FBX, OBJ, or DUF file in through File > Import, then fixing the three handoff problems that break almost every import: missing textures, transparent meshes, and wrong scale or orientation. GLB files need a Blender-to-FBX conversion first, since Daz has no native GLB support.
Importing a model you didn't build inside Daz Studio is where most render pipelines quietly break. The mesh loads, but the textures are missing. Or the model shows up transparent. Or it arrives at 2% of its expected size. None of these are bugs in Daz. They're format-handoff problems between coordinate systems, unit scales, and material conventions that every 3D tool handles slightly differently.
This guide covers the three formats that actually matter for Daz Studio (FBX, OBJ, and the GLB-via-Blender path), the fixes for the texture and transparency problems everyone hits, and the specific workflow for bringing an AI-generated 3D model from Trify3D straight into a Daz scene.
What Daz Studio can import
Through File > Import, Daz Studio natively handles:
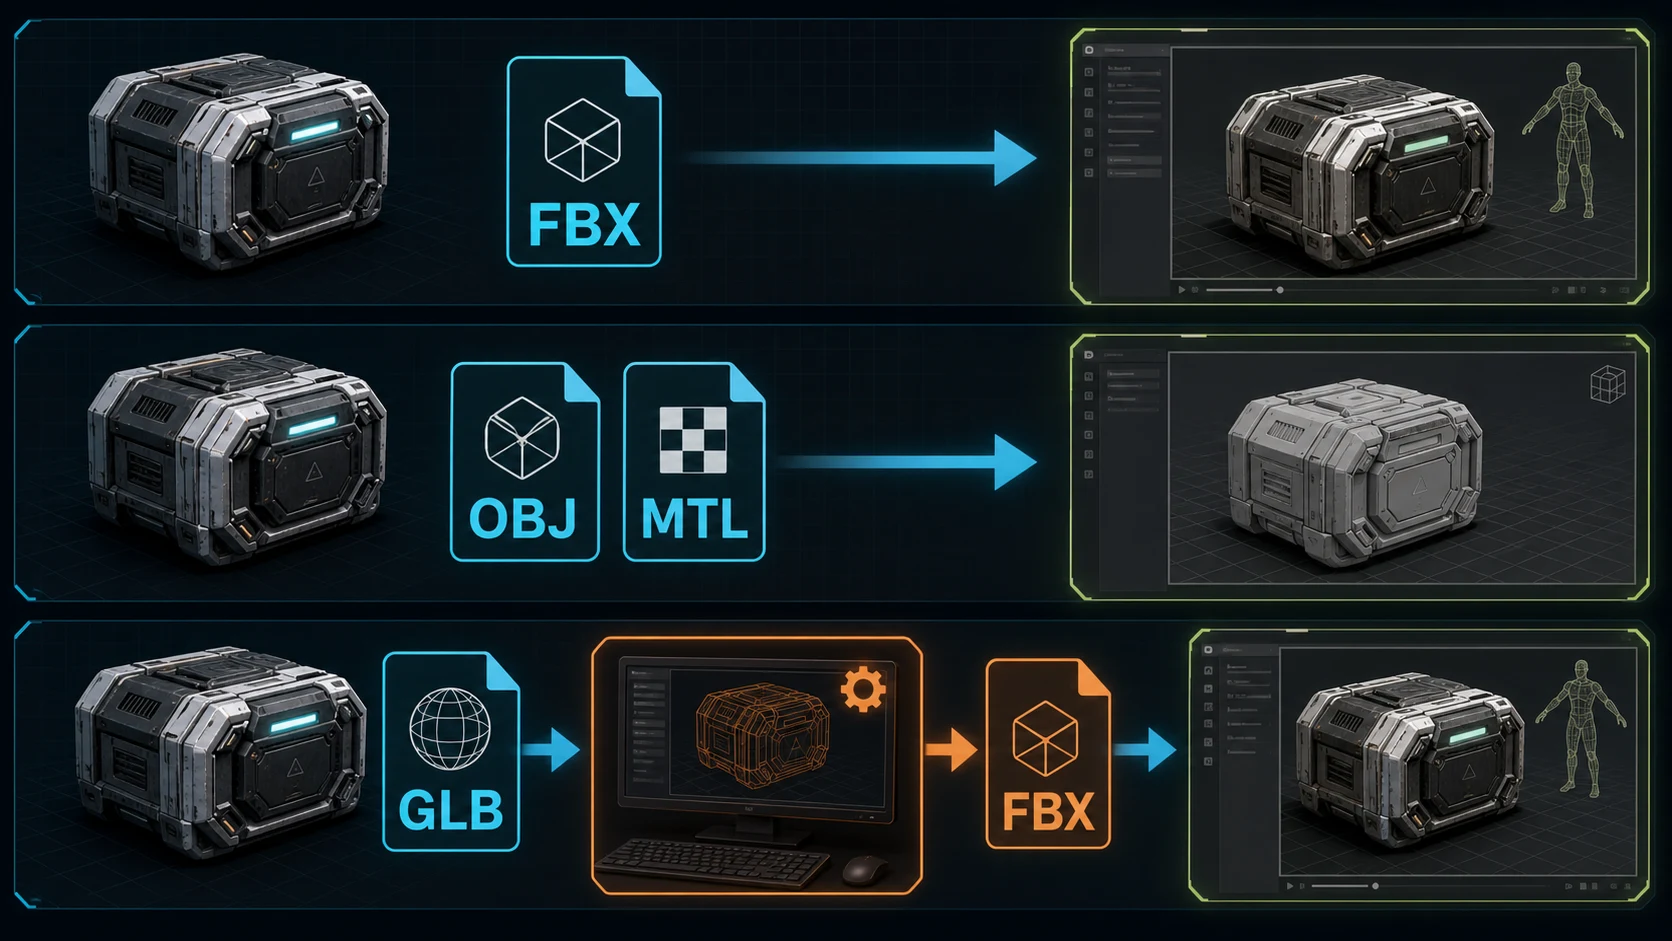
- FBX: the best choice for anything with materials or rigging data you want to preserve.
- OBJ: geometry only; materials arrive as a separate
.mtlfile that Daz tries to auto-link. - DUF / DAZ: Daz's own scene/asset format, used by everything sold on the Daz store.
Poser-format files (CR2, PZ3, PP2) load through the legacy Poser File Importer, still bundled. The notable gap: GLB and glTF are not natively supported. If you have a GLB (the most common output from modern 3D generators), you need a one-step conversion through Blender before Daz will touch it.
The import dialog that appears after File > Import lets you pick units, up-axis, and scale. These settings matter, and ignoring them is the source of most "my model came in wrong" reports. The authoritative reference for Daz's import options is the Daz Studio Documentation Center; for the Blender side of the GLB-to-FBX handoff, see the Blender FBX export docs.
The import flow, step by step
1. Pick the format and the import preset
In Daz Studio: File > Import… and select your file. For FBX, an import options dialog appears. The defaults are sane for most assets, but verify two things:
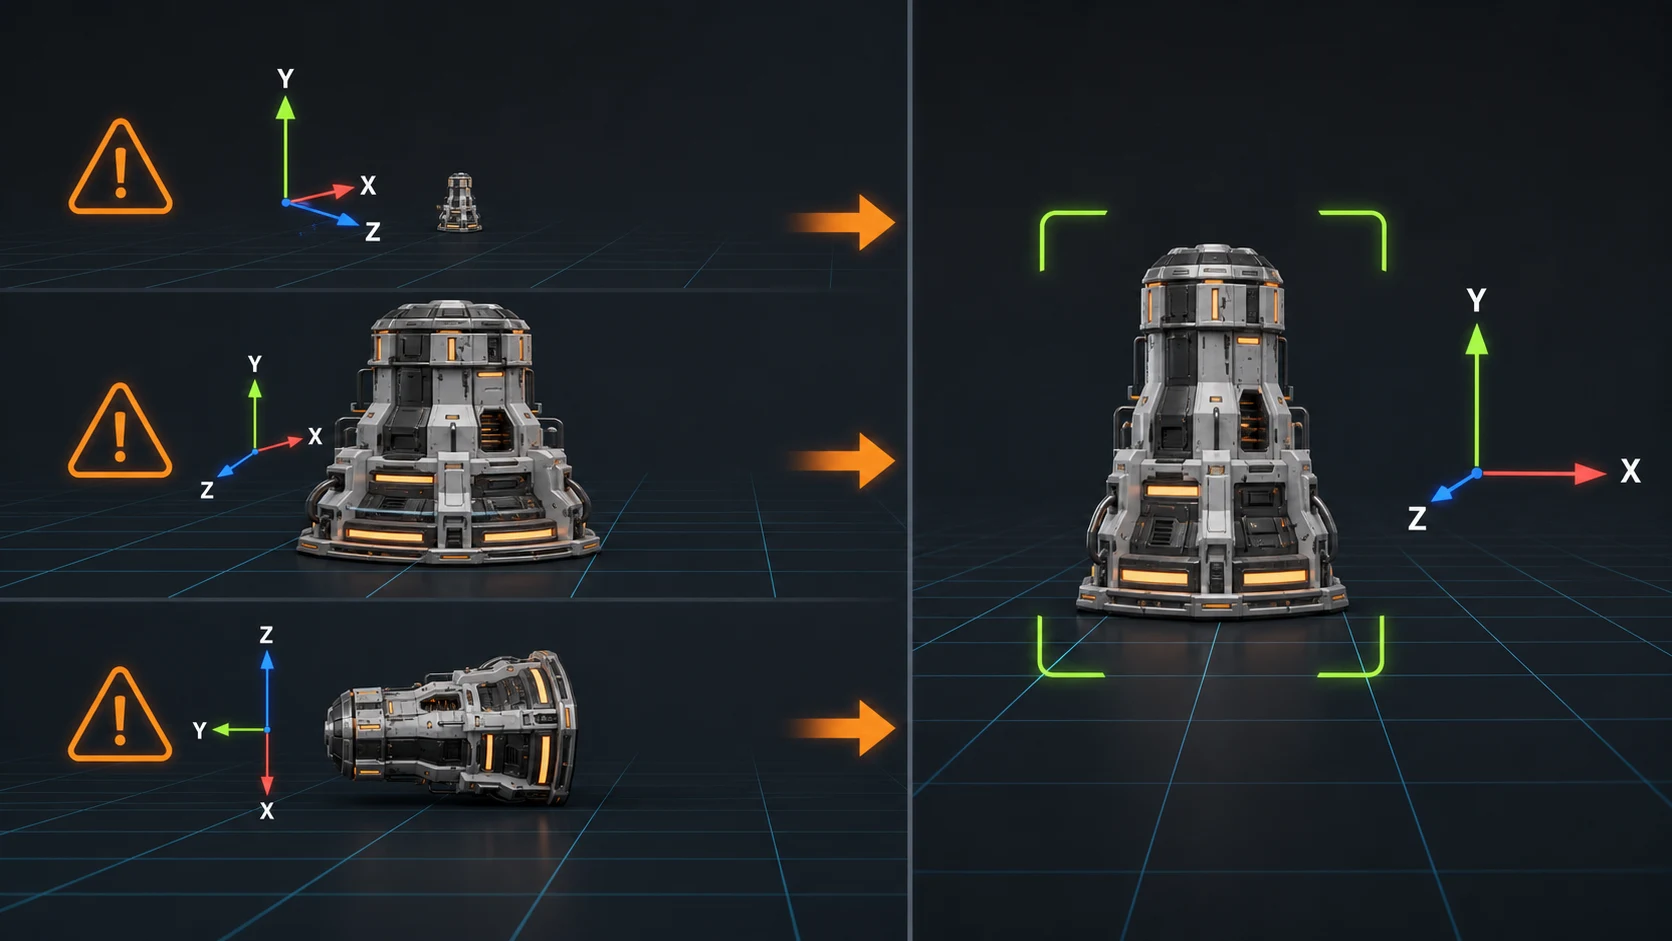
- Units: set to match the source. FBX is commonly authored in centimeters; if the source tool used meters, a 1.8m human arrives at 180 Daz units or 0.018 depending on the preset. Match the source.
- Up Axis: Daz is +Y up. If the source was +Z up (Blender, OBJ default), enable the axis conversion or the model imports lying on its side.
For OBJ, the options are simpler than FBX, but scale and axis still matter. Daz also looks for a sibling .mtl file. If the .mtl is missing or the texture paths inside it are wrong, you get the material and visibility problems covered below.
2. Importing an FBX file
FBX is the most reliable path when the source has materials. The textures usually arrive attached to the surface slots, and if the model was rigged, the bones and weights come along.
After import, select the figure and open the Surfaces pane (Window > Panes > Surfaces). Each surface should show its base color/texture, roughness, and normal maps already assigned. If a slot is empty, the texture path didn't survive the export, so re-link it manually from wherever the maps live on disk.
One honest limitation: FBX from a single-view image-to-3D source won't carry meaningful skinning. The mesh is fine as a static prop or clothing reference, but don't expect rig-and-pose data from an AI-generated asset.
Importing morphs onto a Genesis figure: a common advanced case is bringing an FBX character in and transferring its shape onto a Genesis 8/9 base figure so you can use Daz's pose and expression rig. This is not a plain File > Import. You use File > Send to > Daz to Blender (or the Bridge, next section) for rigged figures, or the Morph Loader Pro utility (Window > Panes > Tabs > Morph Loader Pro) to load an OBJ as a morph target on an existing figure. Plain FBX import gives you a static mesh; Morph Loader Pro is what turns that mesh into a dial on a Genesis figure.
3. Importing an OBJ (and fixing the transparency problem)
OBJ brings in geometry and that's it. Materials depend entirely on the .mtl sidecar being present and correct. When things go wrong, the symptom is almost always the same: the mesh loads looking transparent or invisible.
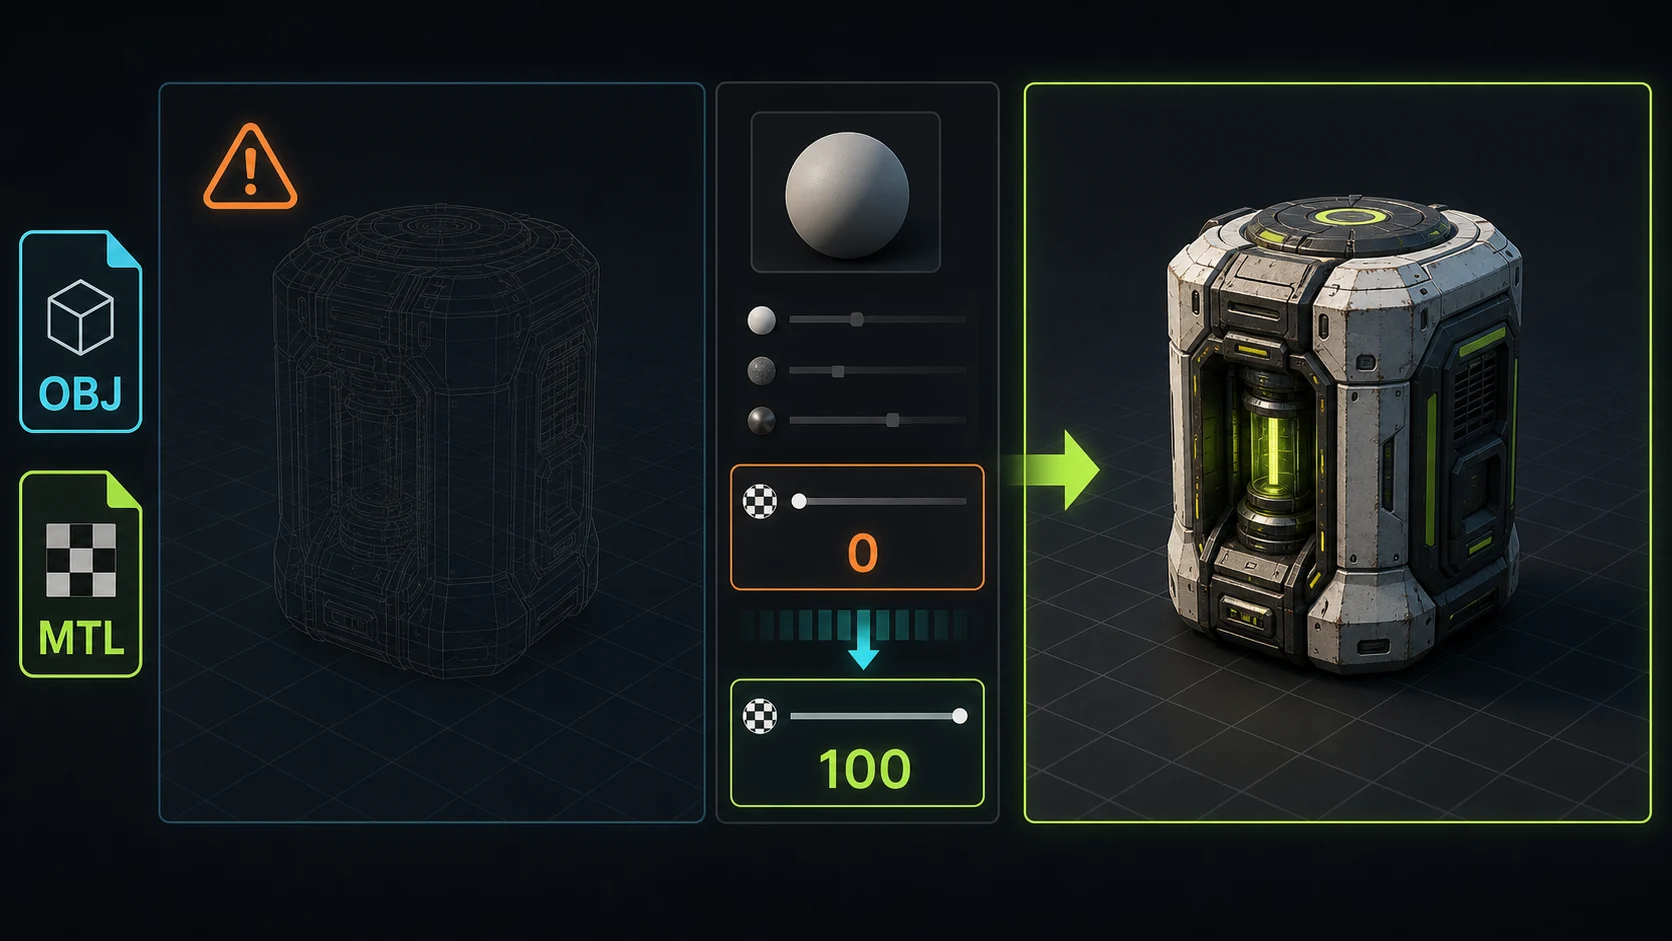
This is a material issue, not a geometry issue. Fix:
- Select the figure, open the Surfaces pane.
- Find the affected surface. Its Opacity (or Opacity Strength) is likely at 0 or unset.
- Set Opacity to 1.0 (100%).
- In the Base Color / Diffuse slot, link the texture map that belongs to that surface. If you don't have the maps, the model stays a flat gray solid, which is at least visible.
- If the model still looks wrong, check that a
.mtlfile sits next to the.objwith the same base filename. Daz tries to auto-detect it; without it, surfaces often load as plain gray, untextured, or with opacity values that need manual cleanup.
The transparency bug is the single most common OBJ import complaint, and the fix is always the same surface-opacity-and-texture relink.
4. Applying textures and shaders after import
Once geometry is in, materials need finishing. Daz's default Iray shader is physically based, which means a model authored for a different renderer (PBR metal-rough, Specular, or unlit) won't look right until you convert.
- Base Color → diffuse/albedo map
- Metallic → metalness map (PBR) or set manually
- Roughness → roughness map; if you only have glossiness, invert it
- Normal → normal map (Daz supports both OpenGL and DirectX; flip green channel if bumps look inverted)
For surfaces that came in with no maps at all, applying one of Daz's built-in Iray shaders (from the Shader Presets) gives an immediate readable material, useful for blocking out a scene before textures are ready.
On .dds textures: models ripped from games (maps, props, characters) frequently ship with .dds (DirectDraw Surface) texture files instead of PNG/JPG. Daz Studio's Iray shader does not read .dds directly, so the surface stays blank or errors on load. Convert the .dds files to PNG or WebP first (Blender's image export, or the free ImageMagick CLI: magick input.dds output.png), then link the converted file into the Base Color slot. This is the single most common reason a game-asset OBJ shows up with correct geometry but no visible material.
5. The GLB-to-Daz path (via Blender)
GLB is the default export from Trify3D and most modern 3D tools. Since Daz can't read it directly, run it through Blender:
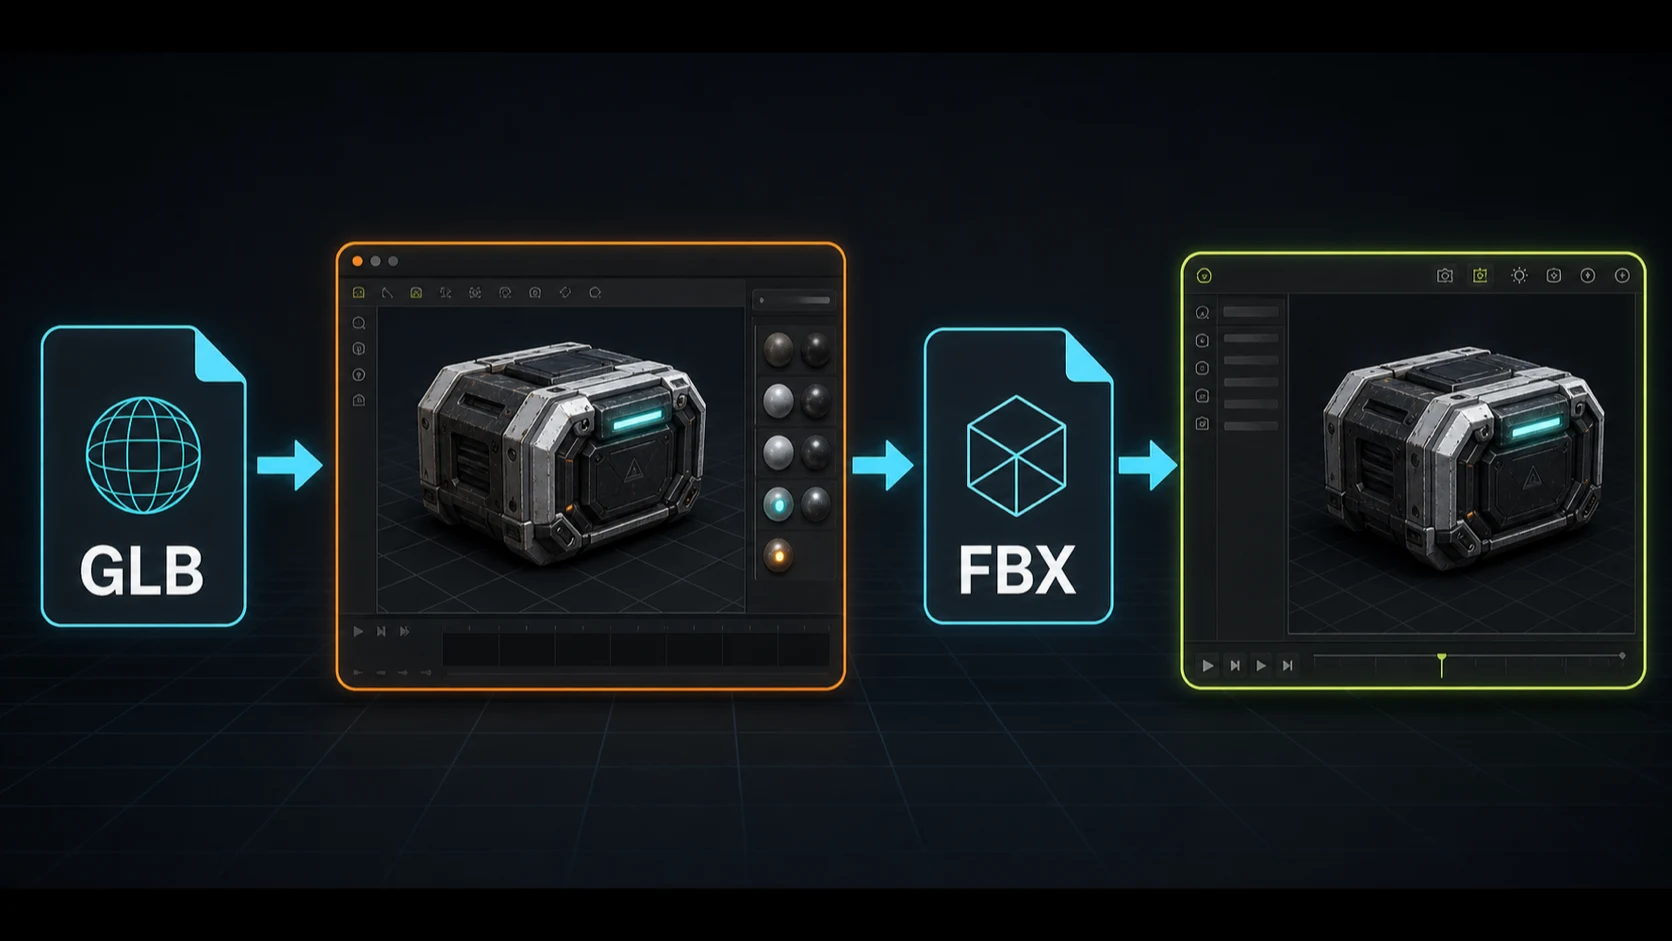
- Open Blender, File > Import > glTF 2.0 (.glb/.gltf).
- Verify the model looks correct: geometry, scale, textures.
- File > Export > FBX (.fbx). In export options:
- Transform > Scale: keep at 1.0, set Path Mode > Copy with Embed Textures enabled so the FBX is self-contained.
- Geometry > Apply modifiers on if you want the export to match the viewport.
- Import the resulting FBX into Daz Studio via File > Import.
This two-step path preserves PBR textures inside the FBX better than converting straight to OBJ, where you'd lose texture packing entirely.
The Daz Bridge alternative (Blender, Maya, Cinema 4D, Unreal, Unity)
For rigged characters and Daz-native content, the cleaner path is not File > Import at all. It's the Daz Bridges. Daz ships official, free bridges that round-trip assets between Daz Studio and other DCC tools:
- Daz to Blender Bridge: the most-used one. Sends a posed/Outfitted figure from Daz into Blender with rigs, shapes, and materials intact, and can push edits back to Daz.
- Daz to Maya / Cinema 4D / 3ds Max Bridges: same pattern, per-tool.
- Daz to Unreal / Unity Bridges: for game engines, with LOD and material conversion.
The workflow is File > Send to > [Target App] inside Daz Studio, not an import on the receiving end. This matters because the Bridge transfers rigging and morph data that an FBX round-trip loses.
When to use which:
- Going Daz → other app to render or pose → use the Bridge. Daz official docs walk through the Blender bridge step by step.
- Going external model → Daz (the Trify3D case, or a TurboSquid purchase) → use File > Import with FBX/OBJ. The Bridges are outbound from Daz, not inbound.
- Bringing a custom mesh in as a morph dial on a Genesis figure → Morph Loader Pro (see the FBX section above), not the Bridge.
The Bridges are a Daz-to-everywhere-else tool. If your asset starts outside Daz (which is the Trify3D workflow), File > Import is still the entry point.
The AI-to-Daz workflow with Trify3D
The whole point of generating a 3D model with AI is to skip the modeling step. The handoff into Daz is the last mile.
- Generate the model: image-to-3D or text-to-3D on Trify3D. Single image in, textured mesh out.
- Export to GLB (self-contained, textures packed) or OBJ + MTL if you want geometry-only. STL if the goal is printing, not Daz.
- Convert GLB → FBX in Blender (step 5 above), or import OBJ directly.
- Finish materials in Daz's Surfaces pane: re-link any texture that didn't survive, set opacity to 1.0.
- Pose / render: the model is now a Daz scene asset.
The export-format choice matters here. If you're going to Daz, prefer GLB → Blender → FBX over straight OBJ, because FBX carries the material slots and texture assignments that OBJ drops. See the full export format breakdown for why each format behaves the way it does.
Common problems and fixes
Model is tiny or huge. Unit mismatch. glTF is meters; FBX is often centimeters. Re-import and set the units to match the source tool, or scale the figure by 100 or 0.01 in the Parameters pane.
Model lies on its side. Up-axis mismatch (+Y vs +Z). Rotate -90° on X in the Parameters pane, or re-import with the up-axis conversion enabled.
Textures are missing / model is gray. The .mtl or texture paths didn't come through. Relink the maps in the Surfaces pane manually, or re-export with embedded textures (Blender FBX "Embed Textures" option).
Normals point inward. Imported geometry can arrive with flipped winding. In Daz there's no one-click flip on a figure surface; fix it upstream in Blender (Edit Mode > Mesh > Normals > Flip) before export.
FBX import silently fails. Usually a version mismatch: FBX 7.4/7.5 (binary) is the safe target. If you exported ASCII FBX or an older version, re-export as binary FBX from Blender.
Which format, for which goal
- Static prop with materials → FBX. Always.
- Geometry only, no textures needed → OBJ.
- Coming from a GLB source → Blender → FBX, never straight to OBJ.
- Rigged character you need to pose → FBX from a tool that authored the rig (not an AI single-view output).
For models generated on Trify3D, the GLB → Blender → FBX → Daz path is the one that preserves the most data. The OBJ path is faster but you'll spend the saved time relinking textures by hand.
If that rigged character is for live streaming, rigged switches that swap outfits or expressions on a hotkey are called toggles — see what a toggle is on a 3D VTuber model to set them up in VTube Studio or Warudo.
Run it yourself in Trify3D
Keep reading from this topic
Albedo vs Normal Map: What Each Stores, When You Need Which
Albedo vs normal map explained: what each map stores, why normal maps look purple, how they work together, and three checks to tell them apart.
TutorialsTrellis 2 Complete Guide: From Install to Production Workflow
The complete Trellis 2 guide for 2026: pick an install path (ComfyUI or no local GPU), run image-to-3D, text-to-3D, and multiview workflows, fix common errors, and compare Trellis 2 vs Hunyuan 3D.
TutorialsWhat Is PBR Texturing? The 2026 Plain-English Guide
PBR texturing explained: what PBR stands for, the six core maps, the two workflows, and the mistakes that break PBR materials in Unity and Unreal.