How to Make a 3D Model: 4 Methods & Free Tools
A 3D model is a digital representation of a physical object, built from vertices, edges, and faces (a mesh) or from parametric shapes and sketches (CAD). Learning how to make a 3D model used to mean months in a complex desktop program. In 2026 you can produce a usable model in minutes; the question is no longer whether you can make one, but which method fits your goal.
This guide breaks down the four real ways to make a 3D model (AI generation, manual CAD, digital sculpting, and 3D scanning) with the best free tools, a step-by-step workflow, and specific numbers so you can pick the right path on the first try.
The 4 Ways to Make a 3D Model (At a Glance)
| Method | Best for | Time to first model | Learning curve | Cost |
|---|---|---|---|---|
| AI image-to-3D | Quick concepts, prototypes, game props | 30-90 seconds | Very low | Free tier available |
| Manual CAD (solid) | Functional parts, 3D printing, engineering | 15-60 minutes | Low-Medium | Free options exist |
| Digital sculpting / poly modeling | Characters, organic shapes, art | Hours-days | High | Free (Blender) |
| 3D scanning / photogrammetry | Copying real-world objects | 1-4 hours | Medium | Free-paid |
There is no single best method. A mechanical bracket wants CAD. A game character wants sculpting. A replica of a real statue wants scanning. Pick by intent, not by hype.
Method 1: AI 3D Model Generation (Fastest)
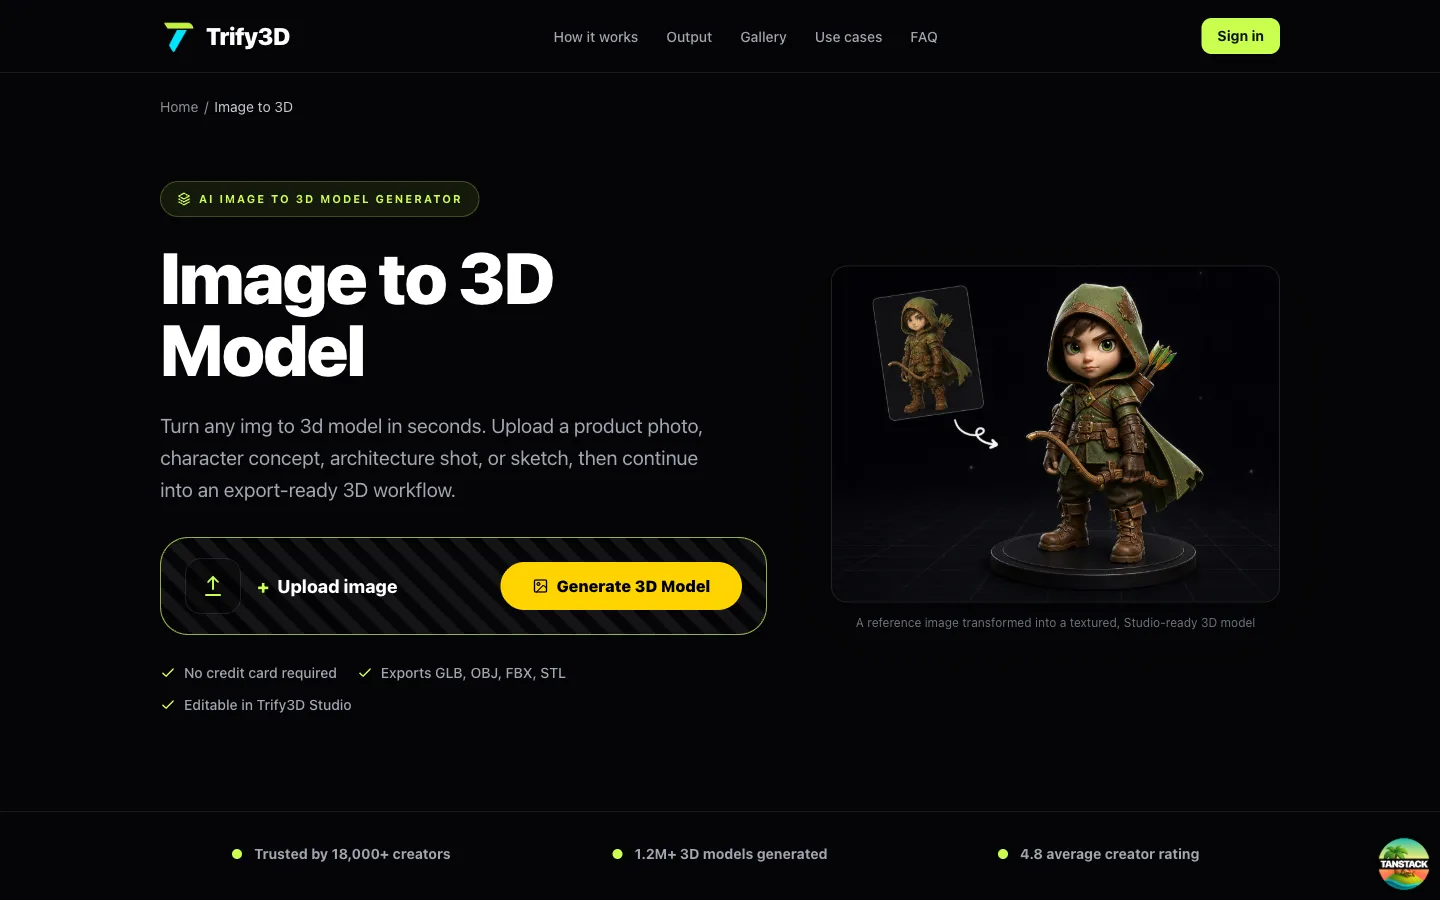
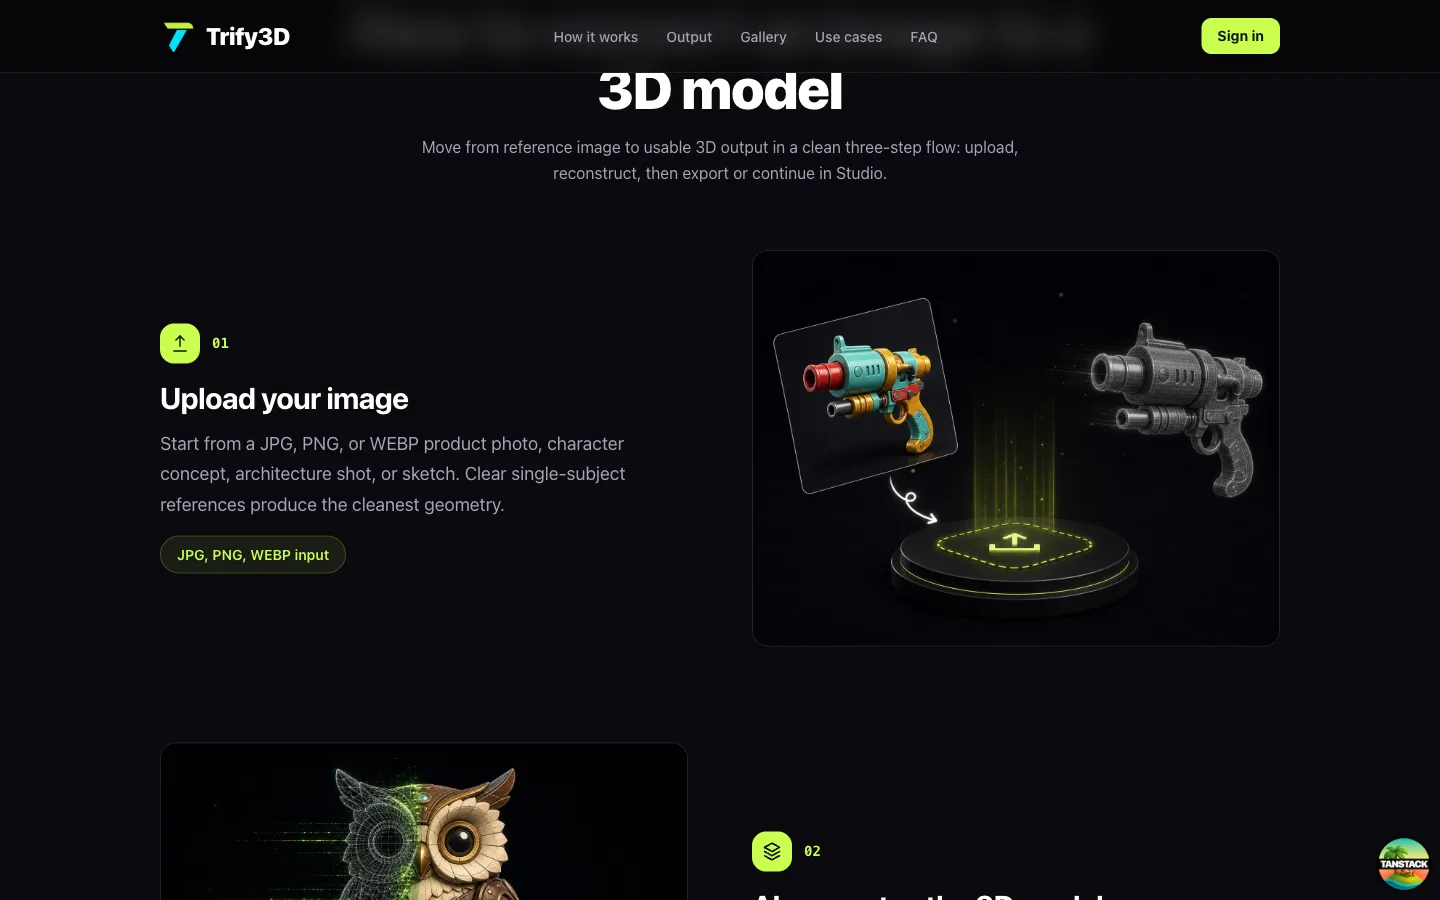
AI image-to-3D is the newest and fastest path. You upload a single image (a sketch, a photo, or an AI-generated render), and a model returns a textured mesh in roughly 30 to 90 seconds. The underlying tech (Trellis, Hunyuan3D, Tripo) has improved sharply: 2026 models produce cleaner topology and fewer floating artifacts than even a year ago.
When to use it:
- You need a concept model today, not next week
- You have a 2D image and want it as a printable or game-ready asset (see our deeper guide on how to make a 2D image 3D)
- You want rapid variants of a prop or product
Workflow:
- Prepare one clear image with good lighting and a plain background
- Upload to an AI 3D generator (we compare the field in the best AI 3D model generators)
- Wait 30-90 seconds for mesh generation
- Download as GLB, OBJ, or FBX
- Clean up in Blender if you need production topology; AI meshes are dense and rarely animation-ready out of the box
Trade-off: AI gets you 80% of the way in 1% of the time. The last 20% (clean retopology, exact dimensions, animation rigging) still needs manual work.
Method 2: Manual CAD (Solid Modeling)
Solid modeling builds objects from dimensions, sketches, and parametric operations like extrude, revolve, and boolean. According to a long-standing Instructables guide on beginner-to-advanced 3D modeling, solid modeling programs "are based on dimensions, shapes, fills, and objects" and are "typically used for creating parts that can be produced on a 3D printer, CNC mill, or other machine."
Beginner: Tinkercad
Tinkercad is free, browser-based, and builds models from pre-made geometric shapes; the Instructables guide compares it to "playing with LEGO bricks or play-doh, something that is usually intuitive to all ages." It runs on Mac, Windows, and Chromebooks with no install. It is the single best starting point for anyone who has never opened a 3D tool.
Limitation: Tinkercad does not prepare you for complex assemblies. Once you need exact dimensions across fitted parts, you outgrow it.
Intermediate to advanced: Onshape, Fusion 360, FreeCAD
For functional parts, parametric CAD is the right tool. The Instructables author, after teaching every major CAD package to students from age 11 up, reports preferring Onshape because it is genuinely free, fully web-based (Chromebook-friendly), supports real-time multi-user collaboration like Google Docs, and can drive 3D printing, laser cutting, and CNC milling from the same document.
- Onshape: free, browser-based, collaborative; closest free analog to SolidWorks
- Fusion 360: Autodesk's hybrid solid/surface modeler; free for personal use with limits
- FreeCAD: fully open-source parametric CAD; steeper UI, no license restrictions
For precision mechanical work, parametric CAD beats every other method. You define a sketch with dimensions, extrude it, and every later edit updates the model deterministically.
Method 3: Digital Sculpting & Polygonal Modeling
Surface modeling works with meshes, vertices, and sculpting tools that "often reflect hand tools an artist would use to create a sculpture," as the Instructables guide notes. Popular examples include Blender, Meshmixer, ZBrush, 3ds Max, and Maya.
Blender is the practical default. It is free, open source, and covers sculpting, polygonal modeling, UV unwrapping, rigging, simulation, and rendering in one program. If your goal is characters, creatures, environment props, or anything organic, Blender is where you start.
Workflow for a character:
- Block out the silhouette with primitive shapes
- Sculpt primary forms with dynamic topology
- Retopologize into clean, animation-friendly edge loops
- UV unwrap and paint textures (see how to make textures for 3D models)
- Rig and test deformation
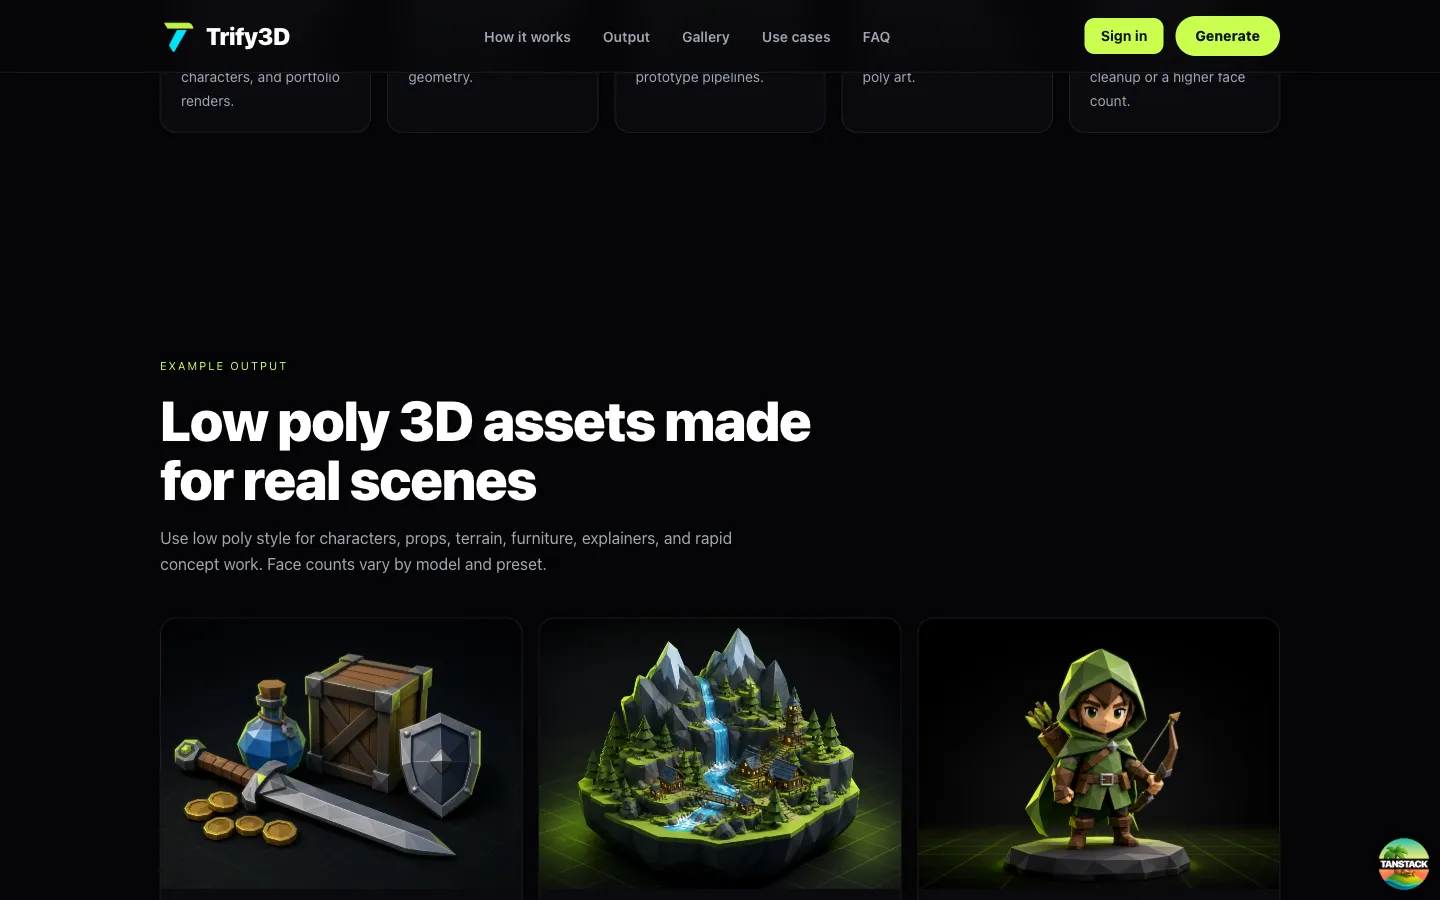
This is the slowest path but produces the highest-quality, most controllable results. Nothing else lets you place every vertex by hand.
Method 4: 3D Scanning & Photogrammetry
When the model needs to replicate something that already exists in the real world, scan it instead of modeling from scratch.
- Photogrammetry: 20 to 200 photos around an object, processed by tools like RealityCapture, Meshroom, or Polycam into a textured mesh
- LiDAR scanning: iPhone Pro and iPad Pro capture depth directly; faster but lower detail than photogrammetry
- Handheld structured-light scanners: professional grade, sub-millimeter accuracy, expensive
Photogrammetry takes longer than AI image-to-3D but is far more accurate for real objects. A common 2026 hybrid: scan for base geometry, then clean and retopologize in Blender.
How to Make a 3D Model for 3D Printing
Modeling for printing is a different discipline from modeling for screen. As Sinterit's printing guide explains, "the modeling stage is where the success of your final print is determined"; you must "consider wall thickness, overhangs, tolerances, and slicing behavior from the start."
Design rules that prevent print failures:
| Rule | Recommended value | Why |
|---|---|---|
| Minimum wall thickness | 0.8-1.0 mm | Thinner walls warp or tear off the bed |
| Max overhang without support | 45° | Steeper overhangs sag mid-air |
| Tolerance for fitted parts | 0.2-0.4 mm | Tighter tolerances fuse; looser ones wobble |
| Export format | STL or 3MF | Universal slicer compatibility |
| Pre-export step | Mesh validation | Catches holes, inverted normals, non-manifold edges |
Sinterit's guide is blunt: "Designing for 3D printing isn't just about making something look good; it's about making it printable." Run a geometry check in your CAD tool before exporting, then slice in Cura, PrusaSlicer, or your printer's bundled software.
Choosing the Right Tool: Quick Reference
| Tool | Type | Free? | Best for |
|---|---|---|---|
| Trify3D | AI image-to-3D | Free tier | Fast models from a photo |
| Tinkercad | Solid CAD (browser) | Yes | Absolute beginners, simple prints |
| Onshape | Parametric CAD (browser) | Yes | Functional parts, collaboration |
| Fusion 360 | Hybrid CAD | Personal free | Mechanical engineering |
| Blender | Sculpting / poly modeling | Yes (open source) | Characters, organic shapes |
| Meshmixer | Mesh repair | Yes | Fixing scans and AI meshes |
| Polycam | Photogrammetry / LiDAR | Free tier | Scanning real objects on a phone |
Step-by-Step: Make Your First 3D Model
If you have never made a model, here is the shortest path to a finished file.
- Pick a method by goal. Concept or prototype → AI. Simple printable part → Tinkercad. Character or creature → Blender. Replica of a real object → scan.
- Get a reference. Front and side photos or sketches. A reference halves your modeling time and keeps proportions honest.
- Block out the big shapes. Do not detail yet. If the silhouette does not read correctly from across the room, detail will not save it.
- Refine and add detail. Secondary forms first, then fine detail. UV unwrap if you plan to paint textures.
- Export to the right format. STL or 3MF for printing, GLB for web, OBJ or FBX for game engines, STEP if you need editable CAD history. Validate the mesh before exporting.
Common Mistakes to Avoid
- Adding detail too early. Detail on a wrong silhouette is wasted work. Block out first, always.
- Ignoring print design rules. A beautiful screen model with 0.3 mm walls will fail on the printer.
- Skipping mesh validation. Non-manifold geometry and holes cause silent export failures.
- Using the wrong tool for the job. Sculpting a bracket or CAD-ing a dragon both end in frustration.
- Forgetting UVs until the end. Unwrapping after the model is "done" is painful; plan seams during modeling.
Frequently Asked Questions
How do I make a 3D model for free?
Use Tinkercad for simple drag-and-drop solid modeling in a browser, Blender for sculpting and organic shapes, or a free AI 3D model generator like Trify3D to turn a single image into a mesh in under two minutes. All three have free tiers and need no paid software.
What is the easiest way to make a 3D model for beginners?
AI image-to-3D is easiest for total beginners: upload one photo, download a mesh. For learning real modeling, Tinkercad is the gentlest start because it uses pre-made geometric shapes, like digital LEGO, with no installation.
Can I make a 3D model from a picture?
Yes. AI image-to-3D tools convert a single image into a textured mesh in 30-90 seconds. Photogrammetry reconstructs a model from 20-200 photos of a real object. See our full how to make a 2D image 3D guide.
How long does it take to make a 3D model?
AI generation: 30-90 seconds plus cleanup. A simple Tinkercad part: 15-60 minutes. A game-ready character: days to weeks. Photogrammetry: 1-4 hours including capture and processing.
How do I make a 3D model for 3D printing?
Model in a solid CAD tool, keep walls 0.8-1.0 mm thick, avoid overhangs steeper than 45° without support, design 0.2-0.4 mm tolerances for fitted parts, export as STL or 3MF, validate the mesh, then slice.
Can I make 3D models on my phone?
Yes. Tinkercad runs in a mobile browser, Nomad Sculpt supports sculpting on iOS and Android, and LiDAR iPhones scan objects via Polycam or RealityScan. Complex CAD is still easier on desktop.
What file format should I export?
STL or 3MF for printing, OBJ or FBX for game engines and animation, GLB for web and AR, STEP if you need editable parametric CAD history.
Is Blender good for making 3D models?
Yes. It is free, open source, and covers sculpting, poly modeling, UVs, rigging, and rendering. It is the top choice for characters and visual work. For precise mechanical parts, use parametric CAD like Fusion 360 or Onshape — the parametric model maker alternatives comparison covers eight tools by output and learning curve.
Next Steps
You now know the four ways to make a 3D model and which tool fits each goal. The fastest way to start is to take one photo and let AI build the base mesh, then refine it in Blender, or send it straight to your printer. Try turning your image into a 3D model with Trify3D, browse the best AI 3D model generators, learn how to make textures for 3D models once your geometry is ready, or compare Bambu Studio vs OrcaSlicer vs Cura vs PrusaSlicer for the slicing step.
If the vocabulary is new, start with what a mesh is in 3D modelling; when you are ready to print, follow the how to design 3D print models guide for print-ready rules and a tolerance cheat sheet.
Run it yourself in Trify3D
Keep reading from this topic
Albedo vs Normal Map: What Each Stores, When You Need Which
Albedo vs normal map explained: what each map stores, why normal maps look purple, how they work together, and three checks to tell them apart.
TutorialsTrellis 2 Complete Guide: From Install to Production Workflow
The complete Trellis 2 guide for 2026: pick an install path (ComfyUI or no local GPU), run image-to-3D, text-to-3D, and multiview workflows, fix common errors, and compare Trellis 2 vs Hunyuan 3D.
TutorialsWhat Is PBR Texturing? The 2026 Plain-English Guide
PBR texturing explained: what PBR stands for, the six core maps, the two workflows, and the mistakes that break PBR materials in Unity and Unreal.